This is by far the biggest honor as a novice baker; making the wedding cake for my sister’s wedding. She requested a two tier wedding cake and I had free reign to be creative.
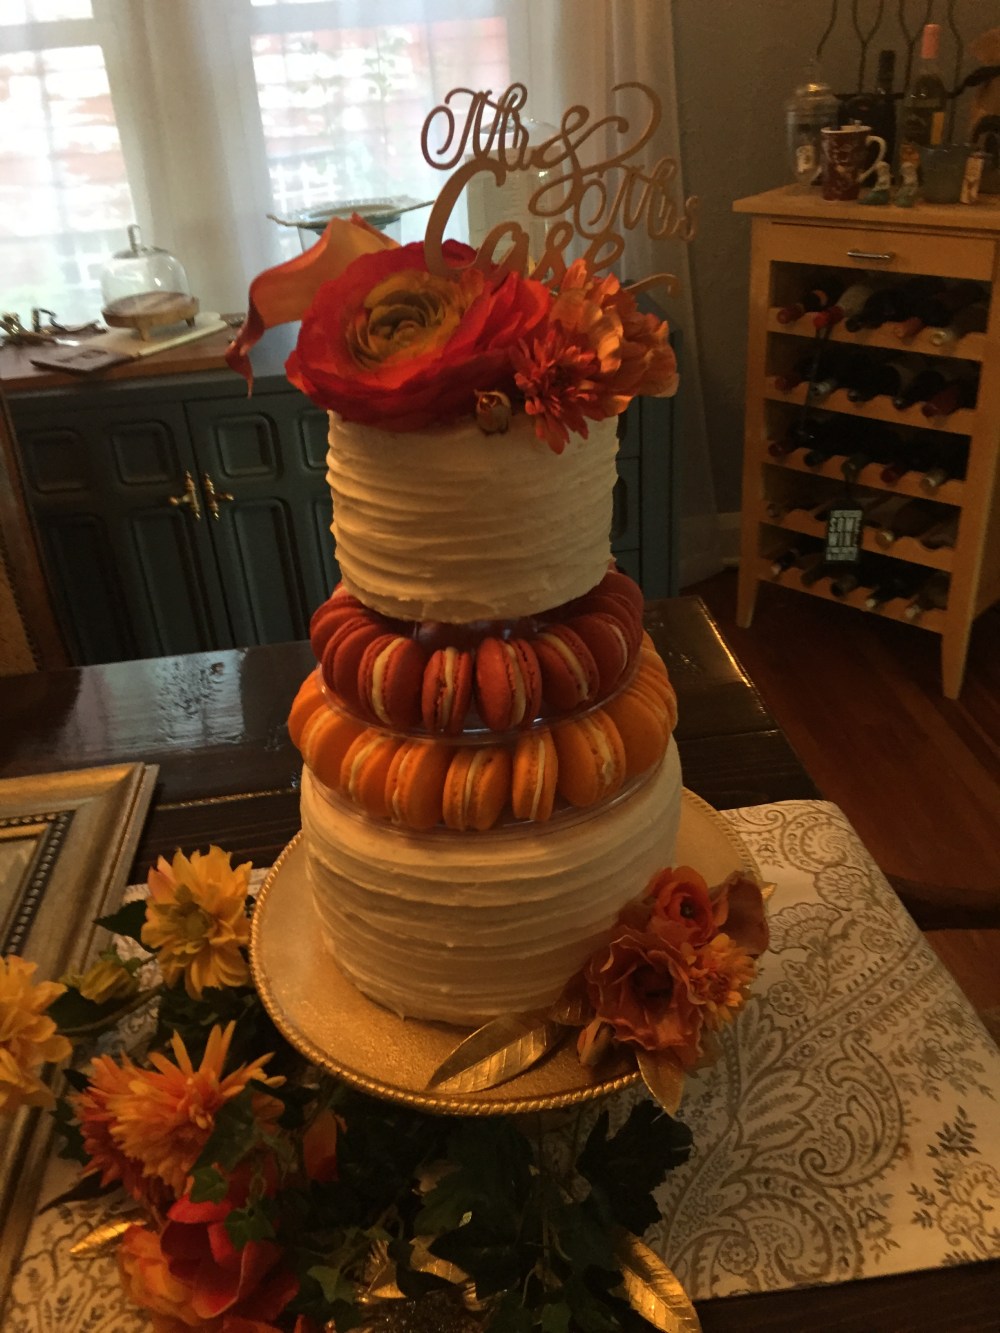 This two tier cake has 4 layers of a 9 inch cake topped with 4 layers of a 6 inch cake. In the middle two layers of French Macarons. The wedding colors being Maroon, orange, gold, and navy; I tried to incorporate this in the cake. I used a gold cake plate and artificial flowers with corresponding colors. And topped the cake with a special topper.

Getting Started
I started with tripling a basic white cake recipe so I could fill Four 9″ baking pans and four 6″ baking pans. You can use any kind of cake you desire. I went for a simple white because of the colors of the macarons and flowers.
STEP 1: After baked and cooled all 8 layers wrap each in plastic wrap and place into the freezer until ready to assemble cake. I made them Thursday before the Saturday Wedding.
STEP 2: Remove the layers from the Freezer and trim the tops with a layer cutter or long knife to create a flat surface for the icings.
Icing the Cake
INGREDIENTS: (will use two whole batches)
1 bag (2 pounds) sifted confectioners’ sugar
1 stick unsalted butter, softened and cut into ½-inch cubes
1 ½ cups solid vegetable shortening
1 ½ tablespoons vanilla extract
⅛ to ½ cup whole milk (to desired consistency)
(Readers outside the U.S. might enjoy our handy metric conversion guide.)
STEP 1: In the bowl of an electric mixer, cream the butter, shortening and vanilla extract until smooth, 3 to 5 minutes on medium speed. Stop the mixer.
STEP 2: Add about ¼ of the confectioners’ sugar. You need to add this gradually, or you might have a sugary snowstorm in your kitchen when you start to mix. Mix on low speed until incorporated. Pause to scrape the sides of the bowl down with a rubber spatula and add another ¼ of the confectioners’ sugar. Continue mixing and pausing down to scrape the sides of the bowl and add more confectioners’ sugar until you’ve added it all. This mixture will likely be quite thick.
STEP 3: Add ⅛ cup of the milk and mix at low speed until incorporated. At this point, it’s up to you whether or not you’d like to add more–it’s a matter of your preference for the consistency. (I used almost a half cup)
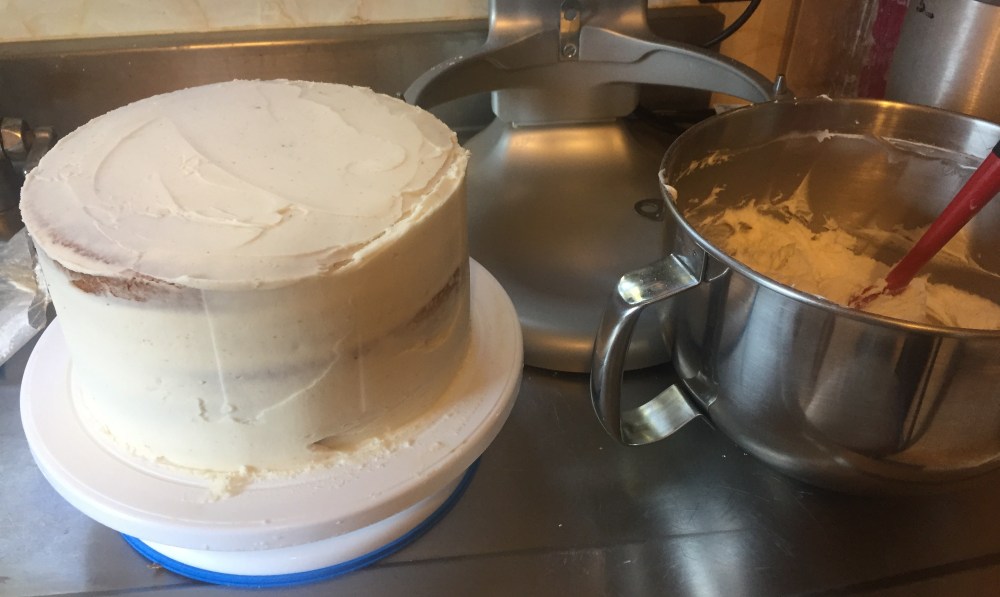
STEP 4: Remove layers from the freezer or fridge. Ice and layer each layer of cake. Try to apply the icing as smoothly as possible. This is the crumb coat. I did this the day before the wedding. Leaving the coat as smooth as possible. Let set for at least 20-30 minutes to form a “crust.”
STEP 5: The day of the wedding I made a whole batch of icing again and iced each layer thicker.

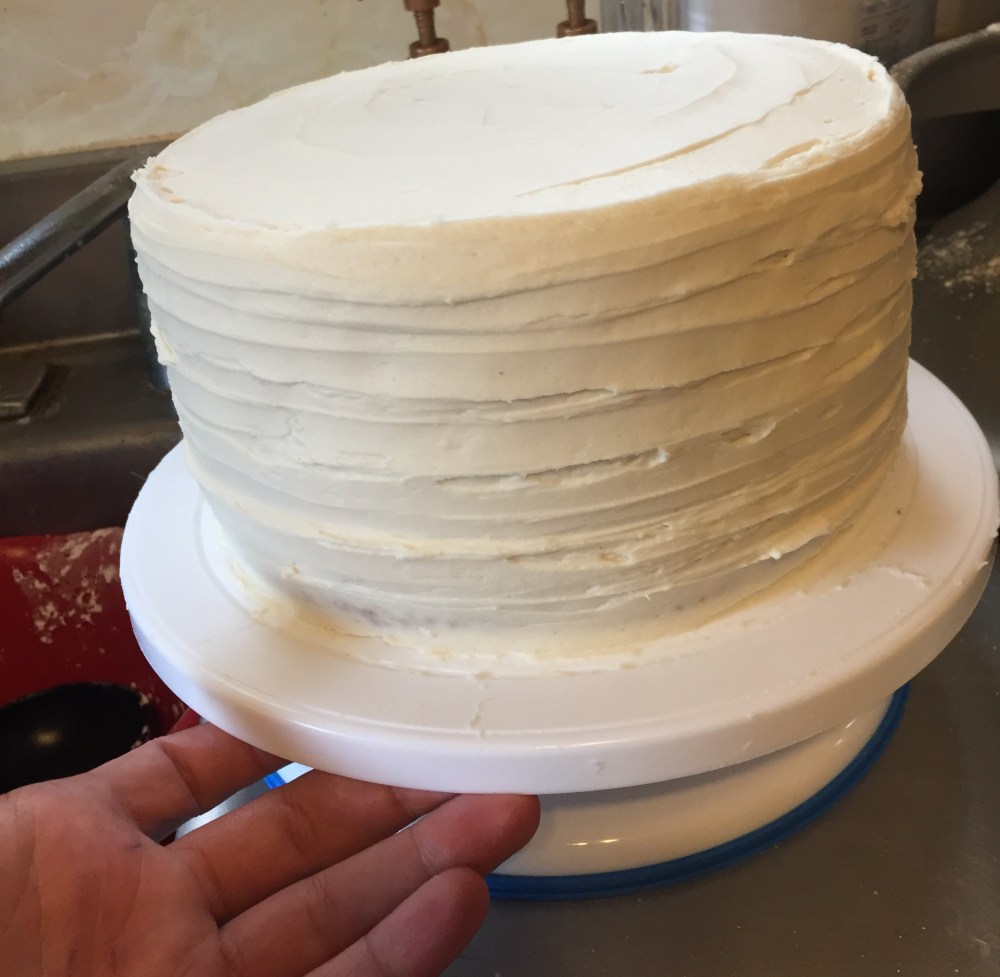
STEP 6: After icing each tier on a cake spinner I took my icing spatula and held it gently against the base of the cake and slowly spun the cake slowly rising the spatula up the side of the cake. The tier should resemble this:
STEP: 7 Place Bottom Tier onto desired cake plate. Using 4 dowel rods. Cut to side and press into cake until flush with the top of bottom tier.
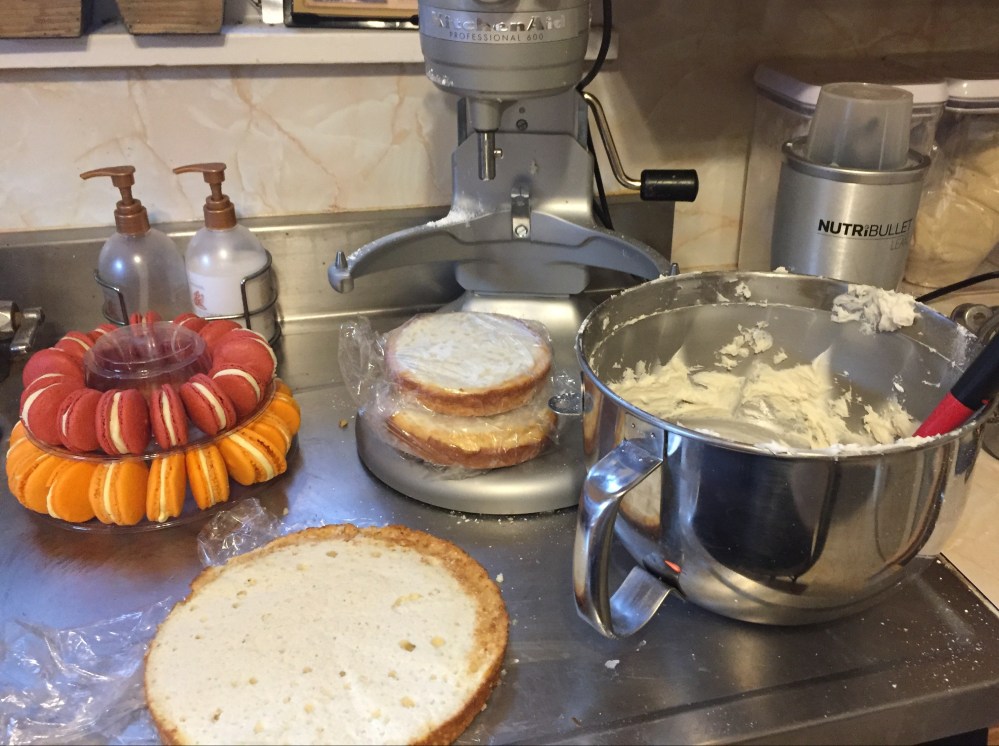
STEP 8: For the macaron layer I ordered a 10 tier french macaron tray from Ebay. I used two of the layers from the middle of the tower and placed it on top of the first tier of cake. You can find the recipe for my French Macarons on my previous blogs. Also macarons freeze fabulously. I made mine previously.

STEP 9: Before putting the macarons on the tower I placed the top tier (no dowels needed) on top of the plastic macaron tray. Then added the Macarons.
STEP 10: Apply decorations, flowers, beads etc to the finished wedding cake at this time.

* For travel purposes I kept each tier in separate boxes, macarons in a box, and all the decorations and topper in another box. This made transport easy and putting it together at the venue was easy. Just remember to bring your cake spatula to fix any edges, a cake transferring board or big spatula and extra icing just in case 🙂

Pictures taken at home were from the practice run I did a month prior. I highly suggest doing a dry run. I learned where and how I wanted to decorate the cake. I also learned to make the macarons a little bit bigger and make them as “pretty” as I could.
(Icing adapted from http://www.craftsy.com)

After choosing the reasons, you can look at to reproduce these factors with your photo.
The coating gives a new look for the paper and often it can be seen that
ink is just not absorbed fast over these papers. s a couple of key questions to ask yourself
to help decide what you need: * Do I require to use film or
digital.
LikeLike